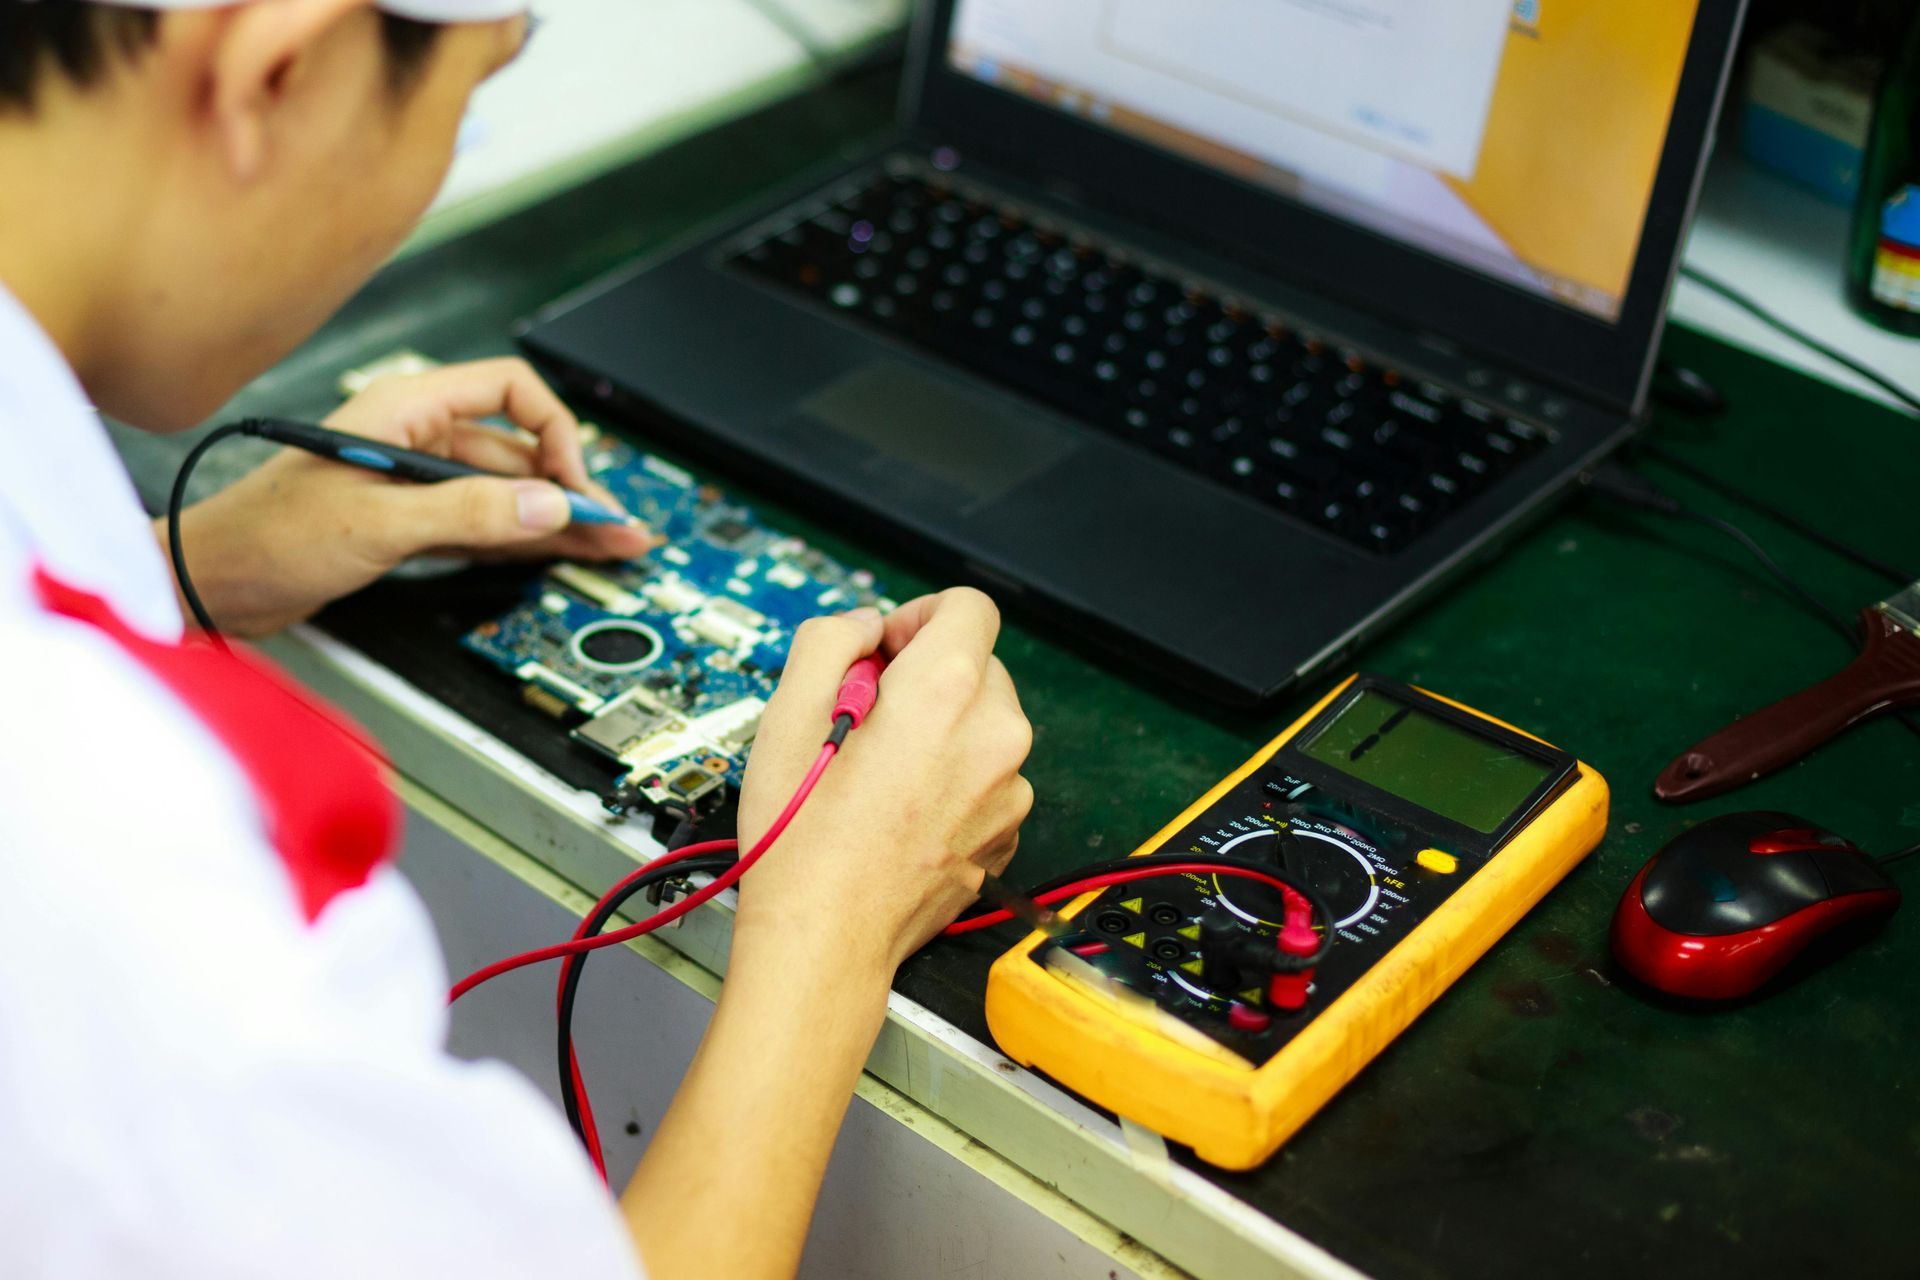
MadPCRepairMobile LLC
To properly use Malwarebytes in Safe Mode

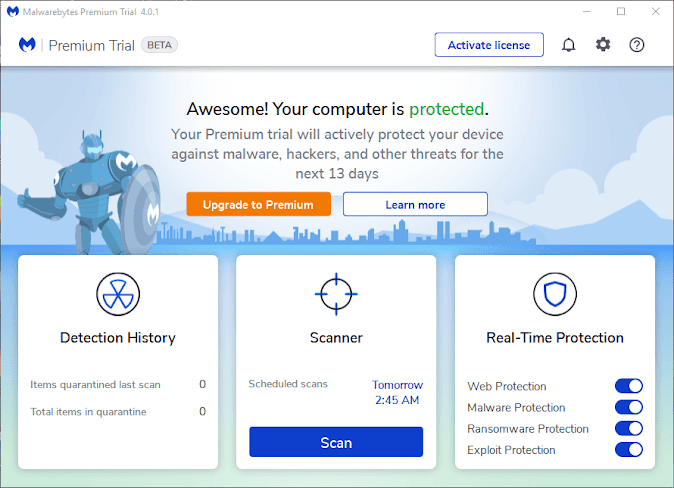
To properly use Malwarebytes in Safe Mode to remove viruses, boot your computer into Safe Mode with Networking, then run a full scan with Malwarebytes to detect and remove any malicious software that might be present; this allows Malwarebytes to operate with minimal interference from active malware as most viruses cannot fully function in Safe Mode.
Here's a step-by-step guide:
Boot into Safe Mode with Networking:
Restart your computer.
When the boot screen appears, press the appropriate key to access the boot options (usually F8 or Shift+F8 depending on your system).
Select "Safe Mode with Networking".
Open Malwarebytes:
Once in Safe Mode, launch Malwarebytes.
Run a Full Scan:
Go to the "Scan" tab within Malwarebytes.
Select "Full Scan" to thoroughly check your system.
Click "Scan Now" to start the scan.
Review and Remove Detected Threats:
When the scan is complete, Malwarebytes will display a list of detected threats.
Review the list carefully and select any items you want to remove.
Click "Quarantine" or "Delete" to remove the malicious files.
Restart your computer in normal mode:
Once the scan and removal process is complete, restart your computer normally to exit Safe Mode.
Why use Safe Mode for virus removal:
Reduced Interference:
Most malware cannot fully function in Safe Mode, allowing your antivirus software to detect and remove them more effectively.
Better Detection:
By limiting active processes, Safe Mode can help Malwarebytes identify potential threats more accurately.
Important Considerations:
Update Malwarebytes:
Ensure you have the latest version of Malwarebytes installed before running a scan.
Consider a full system scan:
Even after removing detected threats in Safe Mode, it's good practice to run a full system scan in normal mode to double-check for any remaining malware.
Backup important data:
If you are concerned about potential data loss during the removal process, consider backing up important files before running a scan.


USEFUL LINKS
CONTACT US
MarkDeRosas@MadPCRepairMobile.com
3104 N Armenia Avenue Suite 2, Tampa, Florida 33607